Monday, August 13, 2012

Another set back

I'm bound to get this right eventually.
After thinking everything was fine after the realistic water was poured, much to my dismay I find as it cured it had ripped up the entire river bed.

This is the front and back of the river, I pulled it out in 2 pieces, I built up the area yet again using paper mache, because it's the only ingredients I had on hand at the time.  I've got the levels right again, added some texture, and now beginning the show process of painting the river bed and banks again, hopefully I can colour match back to the way it was.


These are only mobile phone shots taken in the evening, not much chop, but you should have seen it before hand, I was almost tempted to toss the lot in the bin and start building a HOn30 layout.

Tuesday, June 5, 2012

filling the space with trees

My wife was out for the evening, so I took the opportunity to sneak some stuff into the warm house, take over the dining table and add some more trees to the module, Quite happy with how it's looking, not sure I ever want to transport it with all this flora sticking up in the air, I think the effect is pretty good, even the river does not look as bad as I thought, it should repair up nicely.

The scene is based on photos, with some poetic license to try and make it look right in my eyes.


Sunday, June 3, 2012

Failure can be an option


Taking my first crack at making "water".  It was suggested that a medium worth trying was automotive 2 pack clear, the hardener allowing it to dry far quicker than if it was just an acrylic automotive clear.

Now, I was really nervous that the thin shell of paint and plaster that I built up over my blue foam base, if the clear makes it past the outer layer, it will make a mess of the EPS foam.
Of course, there was a tiny section that wasn't sealed, so approx 400ml of clear has disappeared under the shell...  even worse, because it ate away the foam under the river, it caused a hollow piece, which in turn created a crack in the river bed, allowing the rest of the clear to fill underneath.

The whole idea is now pretty much a write off, I'm kind of hoping now that once the clear dries fully and seals up everything, I'll use something like Woodland Scenic EZ Water to build up depth and fix the river.  I am certainly going to use this method again for small puddles etc on my dirt roads, but in bulk, it has proven to be a bit of a disaster.


Friday, June 1, 2012

More purchasing, not much work (but soon)

Thanks to the good folks at Murray Bridge Trees and Terrain here is another bunch of trees to add to the modules, these will for the most part cover the river bank, with some to be spread amongst the larger trees.


Now what VR era layout would be complete without a WT gracing the rails, I'm yet to assemble my kit that I purchased from Spirit Design but I've pilfered several photos from the website to show what mine will hopefully look like.


Having run past the idea of using the Tam Valley servo setup for controlling points with a few club members, the idea got a big thumbs up, so the next purchase will be these, hopefully, the same few club members will help me install them, and then Maffra can commence in earnest.

Making a start on what will be the major section still seems a bit daunting, I am still very nervous about making mistakes, but that's how we all learn, I just hope I also learn how to fix those mistakes along the way.

Sunday, May 13, 2012

insert update here

I haven't had too much to report of late, real life and a short vacation has been the priority, Some more trees have been ordered from Murray Bridge Trees & Terrain, some detail items and wagons from Spirit Design. I've added some fencing, I still need to glue in the bottom wires and tidy up the ends so they sit neatly, I need to find some prototypical gates as my scratch built attempts do not look right.

I still need to decide which form of point control I want to use, many have pro's and con's, I'm now leaning towards Tam Valley  R/C servo drivers, the price is quite reasonable, once I decide, the track laying for Maffra can commence.


I'm a bit nervous as Maffra will be my first attempt at laying points in about 10 years, that effort ended in failure and frustration, hopefully with the help of some Vic N scale Collective members, I'll get it right and be very happy.

I'm still spending a lot of time searching for period photos, I stumbled upon the one below, taken by Rodney Gaulke in July 1977, shows an angle I have not seen before, being colour is also fantastic.


Sunday, April 1, 2012

More planning and purchasing

No new physical work has been done on the modules, but I have redesigned the garage to incorporate longspan shelving (similar to the racking seen in warehouses etc), which has proven great for safely storing the modules.
I've purchased the remainder of the points needed to complete Maffra, along with a USB programming module for my NCE setup, this will allow me to use a PC to program my locos, use a smart phone as a wireless controller etc, very cool.  I'm also in negotiation for yet more trees to suit the river bank of the MacAlister river module.

I think I'm set on using manual control for my points, with Bullfrog manual control currently winning out for price and suitability, while I'd love to use Tortoise or Cobalt point motors (truly I would), I just don't think my budget could handle the purchase of 20 units. Not for moment do I think that these are not worth the money, but when the difference between 20 Cobalt motors (no switches or anything else) weighing in @ $500.00 versus all the manual Bullfrogs and wire in tube control I need, plus matching panel knobs ( they do nifty single wire single crossover kits, which I can use 2 of for my double crossovers) etc kick in @ $200 delivered.

Has anyone (If anyone actually reads this blog) used Bullfrogs before, can anyone recommend them?

Tuesday, January 24, 2012

Some Plantings


A few trees have been planted, along with a start of the fences, My K class which is currently under repair and detailing after "act of child" filled in for a bit of background interest.


Monday, January 23, 2012

Give me foliage

It's been a while since I posted, not much has happened due to Christmas, Vacations etc... but...
Check these trees out, I've never made a tree before, and...  nothing has changed, I still haven't made a tree, but the cheerful blokes at Murray Bridge Trees and Terrain made these for me.

More exciting than that, they actually made them to match some of the large trees you'll see on this blog further down, yep, I had trees commissioned, based on photographs of the protypes.   I have to give credit where credit is due, these things look fantastic, and will really make the modules come alive.

I had 15 trees made in total, some replicas, some generic for that region, all for around the same price as 4 or 5 individual ready to place trees in blister packs from a retail establishment.

Unless someone from the N Scale Collective teaches me how to make trees this good, I'll be buying more.


Wednesday, November 16, 2011

Some points arrive


Some of my points arrived the other day, still need to order the 5 medium radius left hand ones as they were out of stock when I placed my order.

2 sets of compound points should make installing cobalt switch motors fun and just a little bit expensive if I should go that way, I still haven't decided whether to go manual (wire in tube) or electric.

Sunday, November 13, 2011

The river and banks

Like everything on this adventure, I've never modeled a river, I've seen plenty on the internet showing how to make a small meandering streams, and these look fabulous, I'm trying to make a deep river.

The shot above is upstream from where I'm trying to recreate, but I cannot get access to the actual spot, quite wide, not too deep, loamy banks with some dead flora blocking the way, up closer towards the Murray Goulburn factory, one section maintains this, while directly behind the the factory, the bank has been strengthened with lots of rock and spoil pushed into the river forming a kind of wall.

What I've done so far, is mixed some Vogel (tan/brown colour) water based paint, with some PVA glue, stirred in a mix of small Talus and Ballast to create thick "rocky ooze".
I've painted this as the base of the river, and built the rock/spoil wall by molding a bunch of plaster rocks using a Woodland Scenics mold, I attached them to the river bank, waited a few weeks and then chiseled them out, leaving a mess of small and large bits of rubble, these were cemented into place and pigmented to something I hope looks realistic, i think it's a little too dark, but I haven't "set" the colours yet, so I'll be toning it down slightly.


Next on my agenda, is to find some suitable twigs to act as dead trees, touch up the river banks and colour variety and pour some sort of water in place.  I'm thinking Envirotex, but if anyone out there who may read this knows of a better product, I'm all ears.

Tuesday, November 1, 2011

It's all in the detail

Using some Mininatur grass tufts really add depth to the layout, I still have many more to go, as well as a fence line beside the bridge, but here are a couple of quick snaps with the mobile showing the effect.


Monday, October 31, 2011

Marking out the main boards


I was fortunate to have a 4 day break for Melbourne Cup.
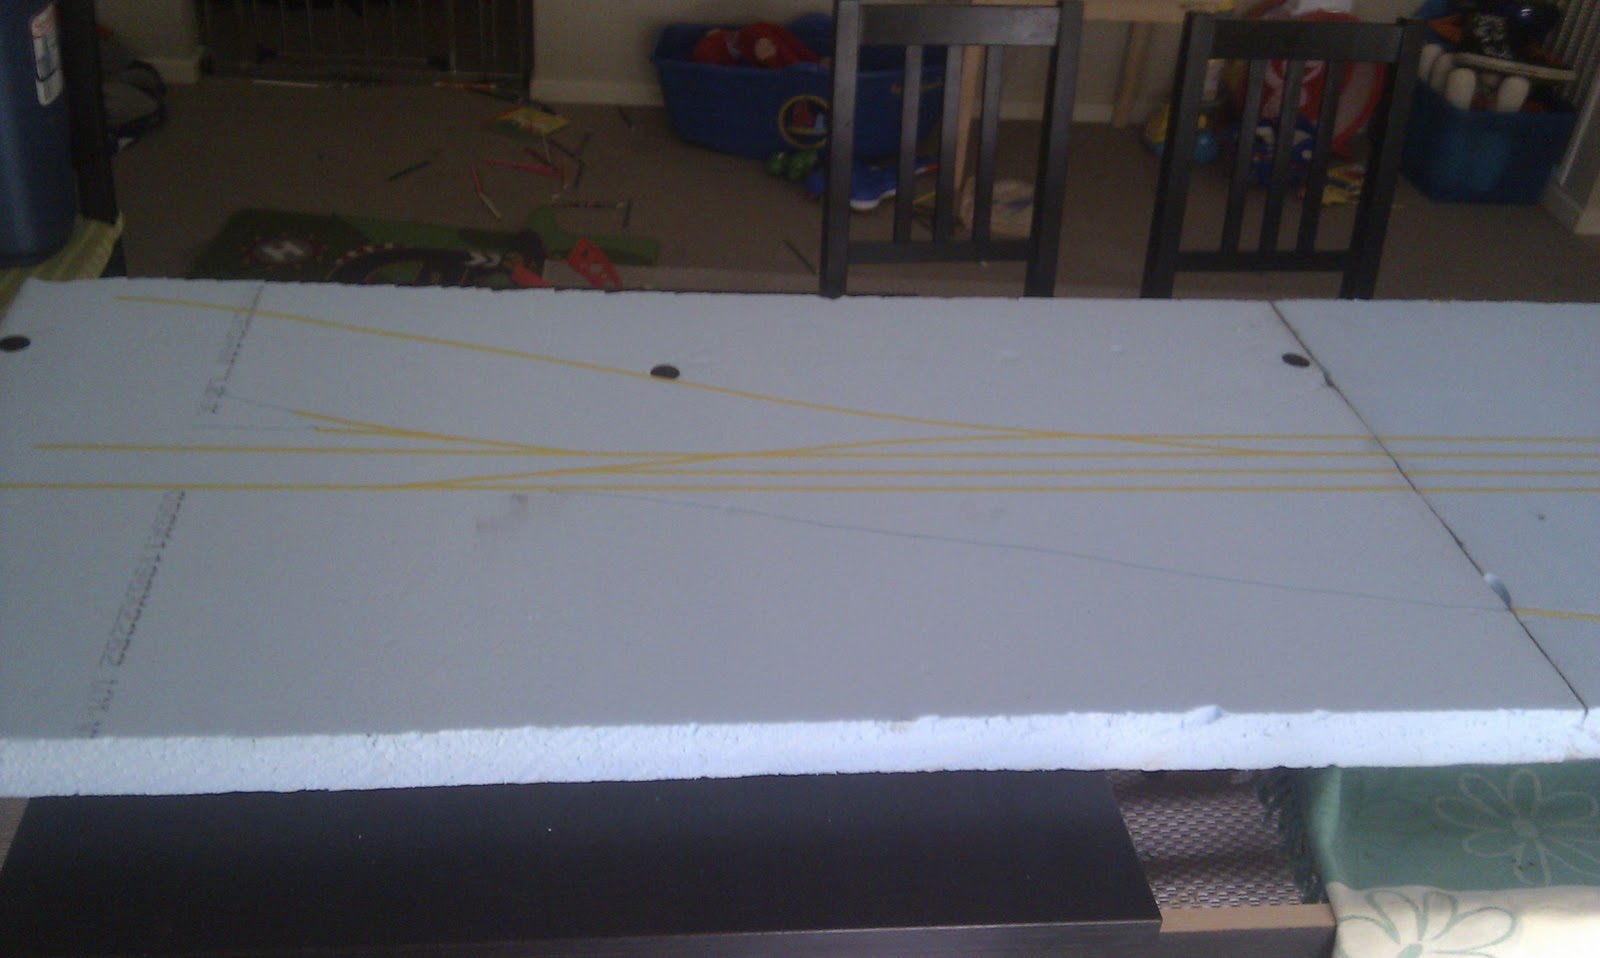
On the Monday, I had the house to myself so decided to finally mark out the 2 x 1200x600mm foam boards with the approximate track layout.

This idea is starting to get large, 1.1mtr of bridge module, 2.4mtr of station modules and the Nestle and Milk Co-Op module (yet to be designed) will probably be 600-800mm long.

The little splotch on the boards is an N scale GY wagon.

All of the point work should arrive in the next few weeks, and now I'm tossing up on whether to use my initial idea of wire in tube for control or bite the bullet and purchase Cobalt switch machines to have electric and perhaps PC control of the points.


Added some marker lights to my Flat Top T Class with 0.3mm Fibre optic, with the headlights made from 0.8mm.


Monday, October 10, 2011

Kit building, ready to run and the novice modeler

Courtesy of Peter J Vincent, O and ON wagons at Maffra Milk Co-Op  (a future project)

I've been modeling (or is that collecting bits and pieces) for about 2 years, I read through Australian Railway Modeler magazine, admiring the layouts, the built up kits and the scratch building efforts of my peers for probably a year prior before buying my first N scale item.  The intention at that stage was to go no further than purchasing an Aust-N-Rail flat top T class body that I could stick on top of my PC monitor.

I bought this from Chris of Spirit Design, his enthusiasm for VR N scale is almost contagious, after a brief tour of his mind blowing layout, "Wallan", I was hooked.

I joined the Victorian N Scale Collective not long after that, I've learned so much in the past 2 years, I started with some T-Trak modules and a few RTR locos and rolling stock.  I needed some structures, so bought a VR permanent way shed from Spirit Design, it went together pretty easy with only my haste and poor painting skills to detract from it.

I've always liked ELs, and in particular the CFCLA livery, Rob from Aust N Rail kindly taught me the skills of soldering while running his shop at the Sandown exhibition a year or so ago, and I managed to put together a brass etch EL loco body, I notice the flaws in my workmanship, but it put me on a path to kit building.

Everything I've built up to now is looking better than the item I built before it, the quality of the kits and the thought out nature of their construction go a long way to helping me achieve something that looks like the prototype.

I was really nervous when I started on the K class kit by Phil Badger, but I got there in the end, and it has a DCC decoder to boot which makes it in the minority.   I did not start my station building kit for almost a year because I was worried it would be too hard to make, Nothing could be further from the truth, and it went together like a dream.  

I'm in 2 minds about all the products in both RTR and kit form that are out there waiting for me, The scratch building and detailing skills of some of the collective members just leaves me in awe, and I know that with me being spoiled for choice, it's very unlikely I'll ever NEED to bring myself to their level of expertise, which is a shame.
But I'm also happy that such a small market is supported by dedicated manufacturers who probably don't make as much money as they should from all their efforts.  I've had the pleasure of meeting quite a number of these people in the short time I've been involved in the hobby, such is the nature of the close knit community that is Aus N scale, and every one of them has been more than generous in speaking with me and answering any question I ask of them.

Thanks to all of you.

Sunday, September 25, 2011

Researching the past

Researching an area 200km from my home is probably difficult enough, but add in the fact I'm trying to model an era (1976-77) when I was only 6 makes it harder still.

I've received a fair amount of material and assistance to help make Maffra as authentic as my meager model skills allow, much of it has been track diagrams, drainage diagrams, signalling arrangements and amendments to the track layout.  These are fantastic for working out the track layout for my modules, as well as the grades and cutting sizes in the station and surrounding areas.

Photographs help convey the feel of the place that obviously isn't there today, between the internet and the modeling fraternity I've been able to source some material that has assisted me no end.
An example of this is Rob from Aust-N-Rail, during the course of his research into Nowa Nowa, had a CD of photos from the area taken by Steve Cullen, in among those, were a few pictures of Maffra.

With permission, I've including these below,  and thanks to those pics, I now know what the river bank behind the Milk Co-Op looks like, as well as the fence lines on the floodplain.

If anyone has any photos of Maffra station and it's surrounds that they would be willing to share, I would really like to see them, I had received a photo last year that was taken on a steam special to Maffra before the line closed, sadly I lost it and the contact after a computer crash :(, I'm sure there are many more out there.